Planning to refresh a historic Charlotte home? Before you lift a hammer or pick a paint color, you will likely need a Certificate of Appropriateness, known locally as a COA. If you want to protect your home’s character and avoid costly delays, understanding the process is essential. This guide covers what triggers a COA in Charlotte’s local historic districts, what to include in your application, how long reviews take, and how to work smoothly with contractors. Let’s dive in.
What a COA covers in Charlotte
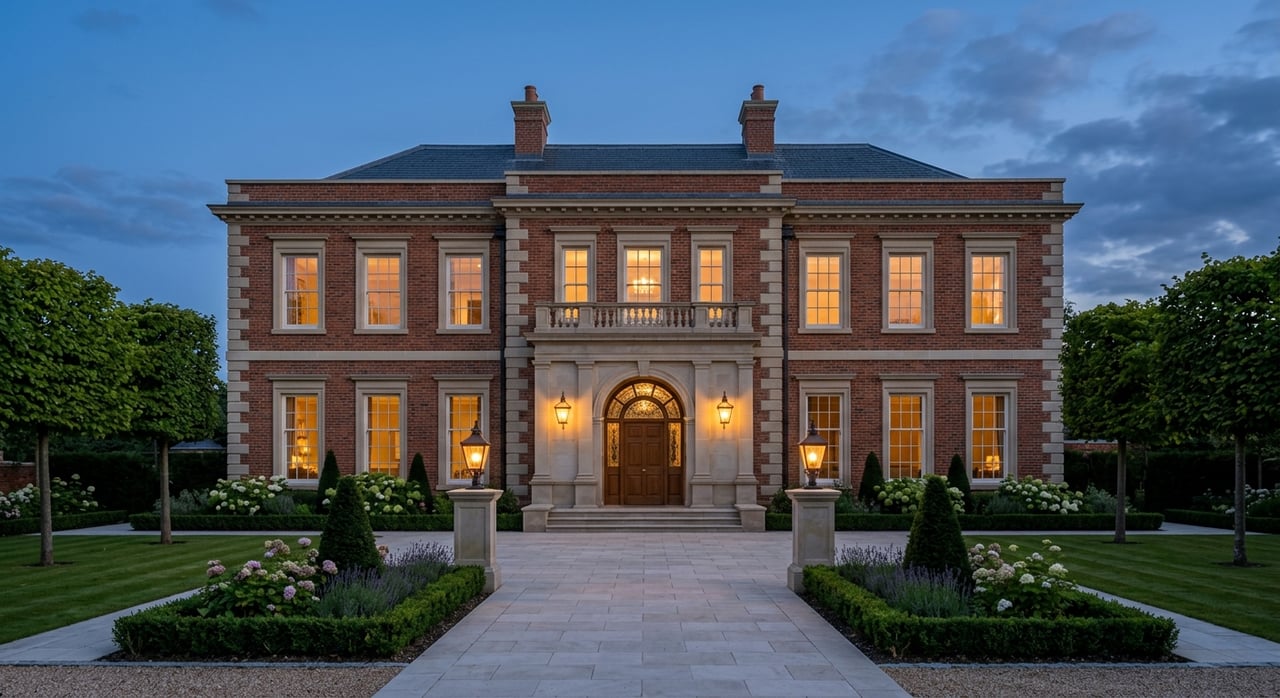
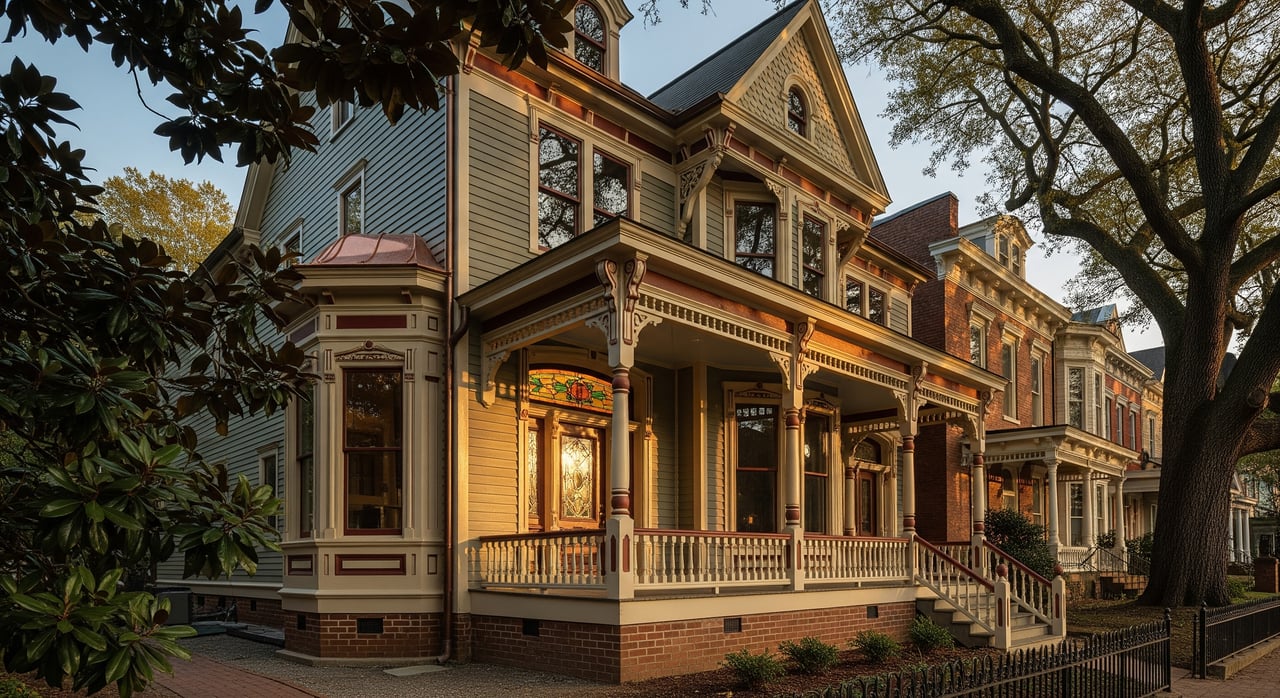
A COA is the city’s approval for exterior work that is visible from public rights-of-way on properties within Charlotte’s locally designated historic districts or on designated landmarks. Reviews are administered by city preservation staff and the Historic District Commission (HDC) under the local preservation ordinance.
Decisions are guided by Charlotte’s historic district design guidelines and the widely used Secretary of the Interior’s Standards for the Treatment of Historic Properties. For technical details like window repairs or masonry treatments, the National Park Service’s Technical Preservation Briefs are standard references.
If your property is listed on the National Register of Historic Places or you plan to pursue state or federal rehabilitation tax incentives, you will have a separate review with the North Carolina State Historic Preservation Office and, for federal credits, the National Park Service. Those reviews are in addition to the city’s COA process.
Work that triggers a COA
Most exterior changes visible from the street will need review. Common triggers include:
- Exterior alterations to doors, windows, porches, siding, trim, cornices, and decorative features.
- Additions, new construction, and visible accessory buildings that change massing or site relationships.
- Demolition or removal of contributing structures or character-defining features, including partial demolitions.
- Roofing changes when the roof’s material, profile, or color is visible and contributes to the façade.
- Changes to porches, stoops, steps, railings, or foundations.
- Exterior paint color in some districts for contributing structures, where applicable.
- Fences, gates, retaining walls, driveways, and paving visible from public ways.
- Exterior lighting and signage that alter historic appearance.
- New mechanical or utility equipment visible from the street, including HVAC units and solar panels.
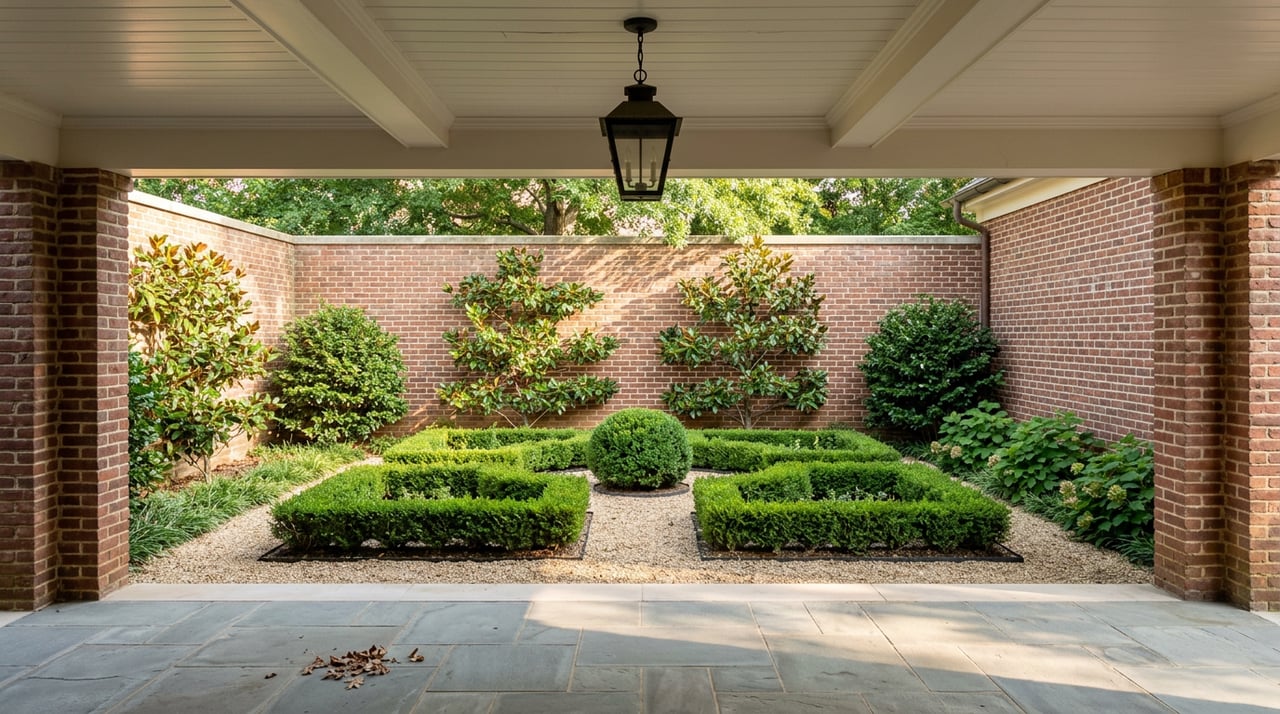
- Major landscaping that modifies historic site features or removes mature specimen trees.
- Window replacement, which is closely regulated. In-kind repair is often preferred.
What you can do without one
Some items are commonly exempt or handled as routine maintenance. These often include in-kind repairs that match existing materials and profiles, interior work that does not change exterior appearance, and temporary stabilization to prevent further damage. Always confirm with city staff before proceeding.
Your COA submission checklist
A complete, clear package speeds review and reduces questions. Use this checklist to assemble your application.
Required documents and drawings
- Completed COA application form signed by the owner and any authorized agent.
- Site or plot plan showing property lines, existing structures, proposed work, setbacks, driveways, sidewalks, and the public right-of-way with dimensions.
- Existing and proposed scaled elevations for all altered façades, additions, or new construction, showing rooflines, openings, porches, railings, and materials.
- Floor plans when interior changes affect exterior openings.
- Scaled details of distinctive features to be repaired or replaced, such as column profiles or cornices.
- Window schedule listing existing and proposed types, materials, muntin patterns, operation, and pane divisions, with scaled sections or manufacturer cut sheets.
- Photographs of current conditions, including street views and close-ups of work areas. Include historic photos if available.
- Material samples and product cut sheets, such as roofing, siding profiles, trim, paint chips, brick, or stone.
- Paint color schedule with chips and proposed locations when required.
- Landscape and tree plans, including tree protection if trees are affected.
- Lighting fixture cut sheets and proposed locations for exterior lighting.
- Fence or retaining wall plans with elevations and materials.
- Demolition descriptions with photos and any salvage or reuse plan.
- Narrative statement that explains the proposal, your rationale, and how it meets local design guidelines and the Secretary’s Standards.
- Contractor and design professional information, including license, insurance, and contact details. Include architect or engineer drawings if used.
- Relevant historic documentation, such as statements of significance, National Register excerpts, or previous COAs.
Administrative items
- Application fee per the current city schedule.
- Proof of ownership or owner authorization for an agent submission.
- Digital files in the format and sizes requested by the city, with correct naming conventions.
Tips to avoid delays
- Submit scaled drawings with clear dimensions. Lack of scale is a common reason for deferrals.
- Provide exact product data, model numbers, and sections rather than general descriptions.
- For windows and doors, include cut sections that show jamb, sill, casing, and trim relationships.
- For additions or new construction, consider photosimulations or shadow studies to show massing and context.
- If pursuing state or federal tax incentives, coordinate early and include SHPO or NPS submission references.
Timeline: what to expect
Every project is different, but you can plan around these typical steps and ranges.
- Pre-application staff contact: usually scheduled within 1 to 2 weeks. This helps confirm scope, triggers, and required materials.
- Completeness review: staff checks your packet. If items are missing, you will be asked to resubmit before substantive review begins.
- Administrative reviews: minor work can be approved in a few days to several weeks, depending on complexity and workload.
- Commission hearing cycle: for major work, expect to submit 2 to 4 weeks before the monthly or bi-monthly HDC meeting. Plan one to three months from submission to approval, depending on completeness and revisions.
- Demolition reviews: often include a notice period or delay to explore alternatives and salvage, which can add weeks or months.
- Appeals or revisions: requests for additional information can push approval to a later meeting cycle.
- Building permits: COA approval is separate from building permits. Do not start construction until you have both.
Practical scheduling tips
- Build extra time into your contractor’s schedule. Custom windows, millwork, and special-order materials often have long lead times.
- Advance design and permit documentation in parallel with the COA to compress the overall timeline. Start work only after all approvals are in hand.
- For emergencies, notify staff immediately, document conditions with photos, and follow with a formal COA for permanent repairs.
Public notices and hearings
Many COA cases require notice to adjacent owners and posting a sign on the property. Neighbors can attend the HDC hearing and comment. Be ready with a concise presentation and a clear, well-organized packet.
Working with the right contractor
Selecting expertise
- Choose contractors with historic preservation experience and references from local historic districts.
- Confirm licensing and insurance and verify they understand COA requirements.
- Include COA compliance language in your contract, along with a clear change-order process for any deviations that would require additional review.
Pre-construction steps
- Hold a kickoff meeting with your contractor and, if applicable, your architect to review the COA, approved drawings, and sequencing.
- Require on-site mock-ups for visible features, such as window profiles, porch columns, siding, and paint colors, before full installation.
- Protect historic elements and trees with temporary measures and define staging areas away from the right-of-way.
- Order custom or matching materials early to avoid delays.
Quality control during work
- Photograph existing conditions before work, key stages during construction, and the final results for your records.
- Use trades skilled in repair rather than wholesale replacement when feasible. Repairing original fabric is often preferred in reviews.
- Favor reversible approaches that do not obscure historic materials, such as adding storm windows rather than replacing original sashes where appropriate.
Contractor pitfalls to avoid
- Starting visible work before receiving the COA and building permits, which can result in stop-work orders and costly restoration.
- Using incompatible modern materials or profiles that alter the façade rhythm or depth.
- Poor flashing or moisture detailing that damages historic materials over time.
- Removing historic features that could have been repaired, such as turned columns or decorative brackets.
Preservation choices that protect value
Decisions that respect your home’s character tend to preserve market appeal and reduce risk during resale.
- Prioritize repair and in-kind replacement to retain authenticity and detail.
- Use materials and designs that match the scale, rhythm, and proportions of the original façade and neighborhood context.
- Document any removed materials and keep records for future disclosure.
Moves that risk approval and resale
- Replacements that alter window rhythm, porch proportions, or rooflines.
- Removing character-defining features without structural necessity and approved mitigation.
- Additions that dominate the original massing or are highly visible from the primary street.
- Unpermitted work, which can surface at resale and complicate transactions.
Tax incentives basics
- Federal rehabilitation tax credits typically apply to income-producing properties and require separate SHPO and NPS reviews under the Secretary’s Standards.
- State-level programs are administered by the North Carolina SHPO and may be available in limited cases. If you plan to pursue credits, coordinate early.
Your renovation game plan
Start with a quick pre-application conversation, confirm what triggers apply to your home, and build a detailed, scaled submission. Line up a contractor who understands historic work and set your schedule to allow for review cycles and long-lead materials. With a clear plan, you can protect your home’s story and keep your project on time.
If you are weighing updates with an eye toward future resale, Bryn Rose Real Estate can help you prioritize scope, align finishes with market expectations, and connect you with experienced local resources. Let’s Connect.
FAQs
Do I need a COA for my Charlotte historic home?
- If your property is in a local historic district or is a designated landmark, most exterior changes visible from the street will require a COA. Confirm with city staff before planning work.
What is administrative vs. HDC review in Charlotte?
- Administrative review covers minor or clearly compliant work and is handled by staff. Larger changes, new construction, or policy questions go to the Historic District Commission for a public hearing.
How long does a COA take in Charlotte?
- Administrative approvals can take a few days to a few weeks. Full HDC reviews often take several weeks to a few months, depending on completeness and meeting schedules.
Can I do emergency repairs on a historic house?
- Immediate stabilization is usually allowed to prevent loss, but you should notify staff promptly and follow with a COA application for permanent repairs.
What happens if I start work without a COA?
- You may face stop-work orders, fines, and a requirement to restore original conditions. Unpermitted work can also create issues at resale.
Do I need an architect or preservation consultant?
- Not always. For additions, complex alterations, demolition requests, or tax-credit projects, design professionals experienced in historic work can reduce risk and improve outcomes.